How to Clean AirPods: A Step-by-Step Guide to Keep Your Sound Crisp and Clear
how to clean AirPods: they have revolutionized the way we enjoy music and take calls, but like all gadgets, they require regular maintenance to ensure they keep performing at their best. In this comprehensive guide, we’ll walk you through the process of cleaning your AirPods to maintain their pristine sound quality. Follow these simple steps to keep your AirPods in tip-top shape.
Why Cleaning Your AirPods Is Essential
Before diving into the cleaning process, let’s understand why it’s crucial to keep your AirPods clean:
- Sound Quality: Over time, dirt, earwax, and debris can accumulate in and around your AirPods, affecting their sound quality.
- Hygiene: Dirty earbuds can harbor bacteria and germs, which can be harmful when placed in your ears.
- Longevity: Regular cleaning can extend the lifespan of your AirPods, preventing potential damage caused by neglect.
How to Clean AirPods: A Step-by-Step Guide
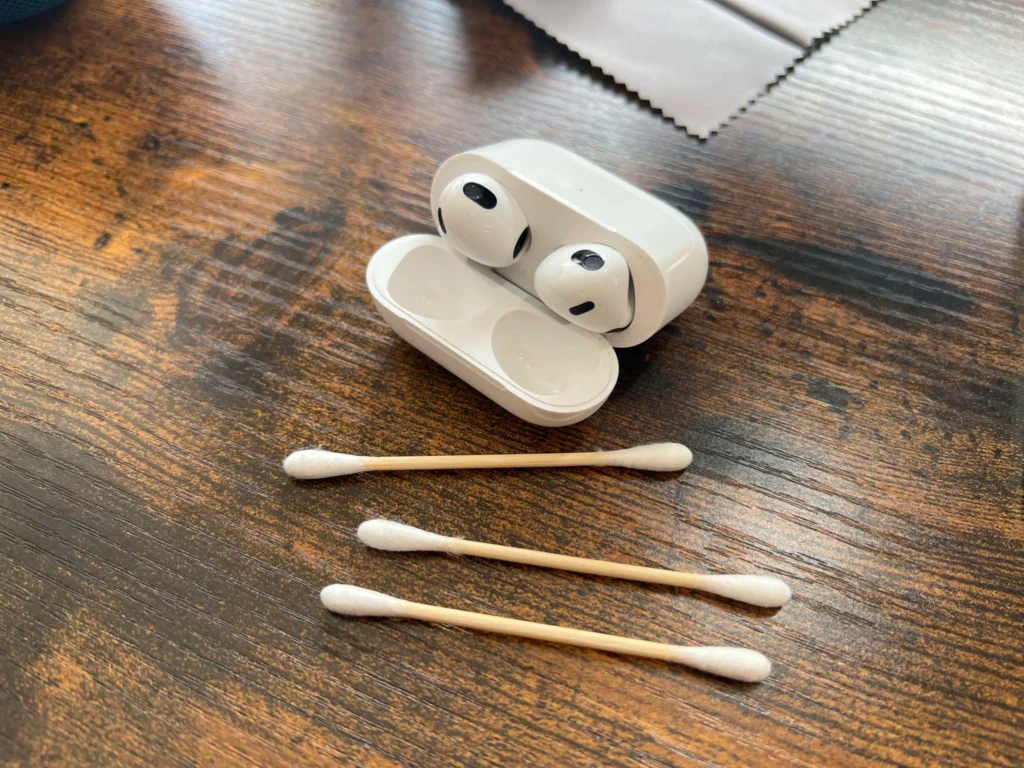
Step 1: Gather Your Cleaning Supplies
Before you start cleaning, make sure you have the following items ready:
- Soft, lint-free cloth: Use a cloth like a microfiber or eyeglass cleaning cloth to avoid scratching your AirPods.
- Cotton swabs: These are useful for reaching small crevices.
- Isopropyl alcohol: A small amount of alcohol (70% or higher) can help disinfect and remove stubborn grime.
Step 2: Remove Ear Tips
Start by gently removing the ear tips from your AirPods. This will give you better access to the speaker grilles and sensors.
Step 3: Wipe the Ear Tips and Speaker Grilles
- Dampen the lint-free cloth with a small amount of isopropyl alcohol.
- Gently wipe the ear tips and the speaker grilles of your AirPods. Ensure you don’t get any liquid inside the openings.
Step 4: Clean the Charging Case
Your AirPods’ charging case can also accumulate dirt and grime. Follow these steps to clean it:
- Wipe the exterior of the case with a cloth dampened with isopropyl alcohol.
- Use a cotton swab to clean the interior of the case, especially around the charging contacts.
Step 5: Clean the Mesh Vents
The microphone and speaker mesh vents on your AirPods can get clogged with debris. Here’s how to clean them:
- Use a dry cotton swab to gently remove any visible dirt or wax from the mesh vents.
Step 6: Reassemble and Test
After cleaning, reattach the ear tips to your AirPods and place them back in the charging case. Close the case and allow them to charge for a short while.
Transitioning from the cleaning process to maintenance, it’s important to note that you should clean your AirPods regularly, ideally once a week, to prevent excessive buildup.
Conclusion
In conclusion, learning how to clean AirPods is a simple yet essential task that can make a significant difference in your listening experience. Regular cleaning not only keeps your AirPods looking good but also ensures that they continue to deliver crisp and clear sound quality.
By following the steps outlined in this guide, you can maintain the hygiene and longevity of your AirPods, keeping them in excellent condition for years to come. So, invest a few minutes in cleaning your AirPods regularly, and you’ll enjoy your favorite tunes and calls with clarity and comfort.
As a House Cleaning Company we love to provide you with useful articles about the cleaning and healthy word! Contact Us if you want a Free Estimate for Processional Cleaning Companies in Omaha Nebraska.